How to Sterilize Baby Bottles
Looking to ensure your baby’s feeding essentials are germ-free? Discover the essential steps and techniques on how to sterilize baby bottles effectively.
Keeping these items sanitized is crucial for your little one’s health, especially during their early months when their immunity is still developing. Explore the best practices to maintain a clean and safe feeding environment for your baby.
Why Sterilize Baby Bottles?
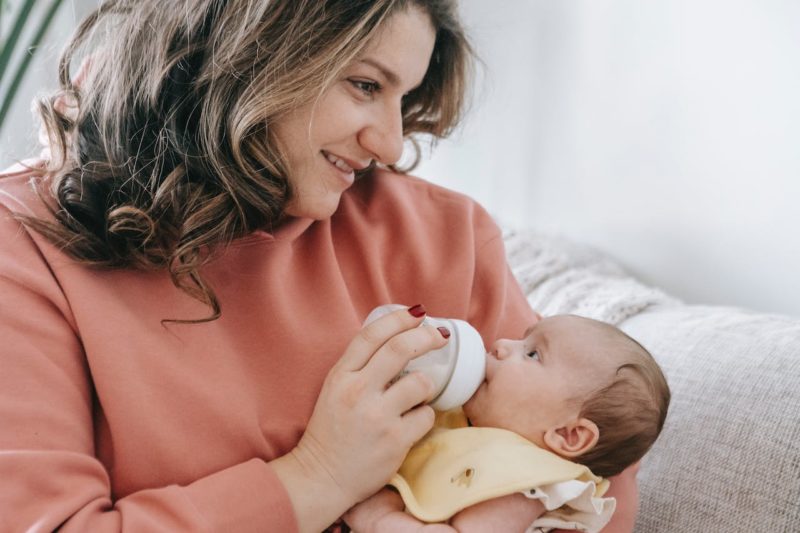
Cleaning and sterilizing baby bottles is crucial to safeguard your little one from bacterial infections, especially during their early months when immunity is low. Ensuring bottles, nipples, rings, and lids are free from germs is essential right after purchase. During manufacturing, these items encounter numerous hands and potentially unsafe chemicals, making sterilization vital.
Despite multiple safe water sources today, regular sterilization remains advisable. Baby bottles frequently come into contact with unclean surfaces, accumulating germs over time. So, maintaining a sterilization routine is prudent.
When Should You Sterilize Baby Bottles?
Several scenarios call for it: when the baby’s immunity is low, using water from a potentially contaminated source, premature birth, or for babies younger than four months old.
Sterilization vs. Boiling
Understanding the distinction between sterilization and boiling is crucial. Sterilization involves subjecting bottles to high temperatures to kill germs, while boiling is part of daily washing using water and dish soap.
How to Sterilize Baby Bottles Step-By-Step
Equipment necessary for sterilization includes a pot for boiling water, bottle and nipple brushes for thorough cleaning, a stove for heat, tongs to handle hot bottles, and towels to dry nipples completely.
- Wash bottles and nipples with dish soap thoroughly before boiling. Use the nipple brush to eliminate any milk residues.
- Submerge the bottles and nipples in a pot filled with water, ensuring complete coverage for effective sterilization.
- Place the pot on high heat and let the water boil for about five minutes to eliminate germs.
- Use tongs to avoid burning yourself when removing the bottles from the boiling water after five minutes.
- Dry the nipples completely using a clean towel to prevent any residual hot water from harming the baby.
How Long to Sterilize Baby Bottles
According to the CDC boiling water for 5 minutes eradicates germs, making it an effective sterilization method.
Safety Precautions
- Keep children away from the kitchen during sterilization to prevent accidents.
- Place the stove out of children’s reach.
- Discard the boiled water safely to minimize accidents.
- Maintain hygiene by cleaning your hands before handling baby bottles.
- Store baby items separately, away from other kitchen utensils, to minimize germ contact, especially since babies have fragile immune systems.
Conclusion
Mastering the skills of sterilizing baby bottles is a cornerstone of proper infant care. By following these sterilization methods diligently, you’re ensuring a hygienic feeding environment, safeguarding your baby from potential infections. Stay committed to these practices to provide your little one with the utmost care and safety during feeding times.
Would you like to receive similar articles by email?
Dr. Jade Marie Tomaszewski
Dr. Jade Marie Tomaszewski is a pathologist-in-training at McGill University, where she also did her degree in MSc Pathology. She obtained her medical degree (MD) from the University of the Philippines, after completing a BSc in Molecular Biology and Biotechnology. In her (little) spare time, she enjoys spending time with family, curling up with a book and a large mug of tea, and trying out new recipes in the kitchen. You can follow her on LinkedIn and Twitter.


You May Also Like

7 Gorgeous Baby Accessories to Add to Your Baby’s Nursery
What Kind of Gifts to Offer During a Baby Shower